Boat Repair

Boat Repair
Cascade River Gear and Maravia Rafts are located in Boise, ID right on the Boise River. Maravia offers a repair department that can work on anything Maravia related! We no longer offer repairs other brands and makes. Let our fabulous repair team assist you in making sure your boat is in tip top shape every season. We are happy to do an annual maintenance inspection, upgrade valves and fix minor leaks. Or, for the more unfortunate river experiences….. well, we can fix those too! Just give us a call. 800.223.RAFT (7238) Whether you are local or far away you can ship in your boat and we will ship it back to you when it’s river worthy once again. We are located at 604 E 45th St. Boise, ID 83714. Chinden and 45th on the Boise River!
Tips from decades of experience….
MARAVIA REPAIR AND STORAGE TIPS
Why is there never enough time to do it right, but always time to do it over?
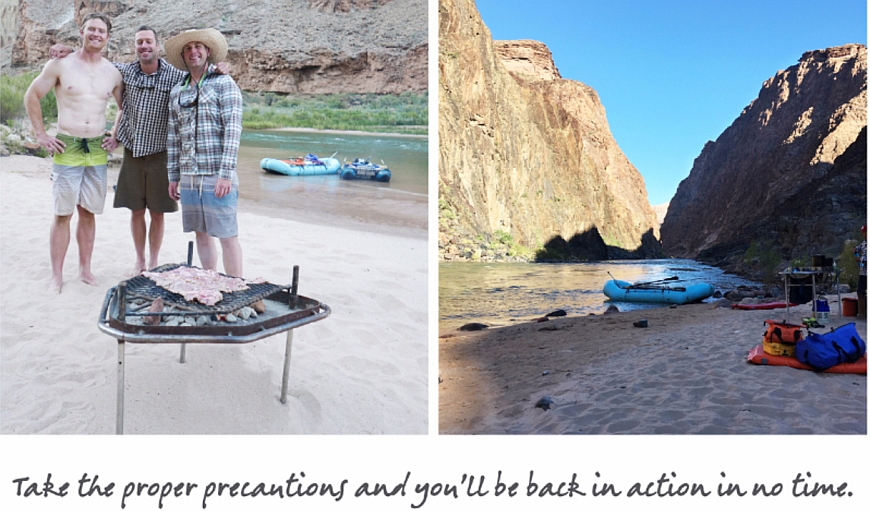
Take the time to do it right and never need to do it twice. We live by the rule of two: prep and patience.
The most important step for a good boat patch is to make sure your gluing surface is adequately prepared. A good gluing surface has been carefully sanded and is very clean. The idea with sanding is to lightly roughen the gluing surface and create a better glue bond – not to remove the urethane coating. A roughened surface opens up more “sites” for the glue to bond. Sometimes a quick rub with MEK will make the sanding go a little quicker. When you finish sanding, clean the area thoroughly, making sure to clear any sandpaper grit. A good wipe with just a little MEK will do the trick.
The patience part comes when you apply the glue. Take the time to apply the glue in two very thin, even coats. And wait for the first coat to dry completely. Don’t goober a ton of glue onto your patch and boat. More glue does not mean a better bond! In fact, more glue usually means more air bubbles which can result in a poor bond.
Take particular care in these two areas, follow the repair instructions that come with your boat and our patch job should be a permanent, worry-free part of your boat.
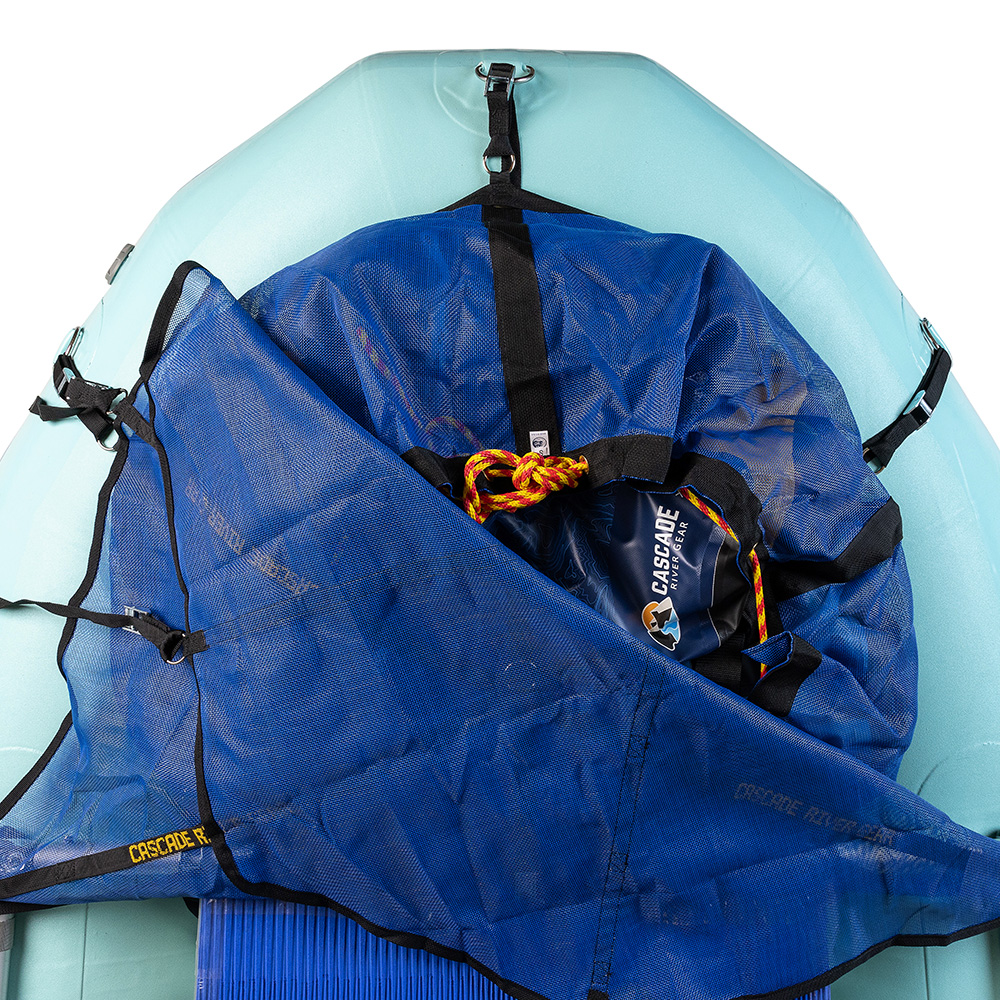
Know Your Repair Kit
All too often, river runners don’t open their repair kits until it is too late. For those whose lives are carefree and without problems, there is no reason to read on. For those who have suffered through flat tires, been locked out of a car or home, or battled other painfully inconvenient mishaps, read on: being familiar with your kit’s content and the procedures for boat repair is just smart planning.
At the beginning of each river season it is important to restock adhesive and cleaning solvents with fresh supplies. Most adhesives have a one to two year shelf from the date of purchase. Don’t let the spring river season sneak up on you with out freshening up a bit.
In addition to traditional repair kit contents, consider some additional items – just in case. Tools such as a pair of scissors, a pencil, a screwdriver (a Leatherman type tool does the trick nicely), a spare valve and valve wrench, and a spare oar lock can come in handy for even the most seasoned river runner. A small battery powered dremel tool from your local hardware store is the ultimate sanding device. The trip of a lifetime on the No-Tell-Em River in Alaska may call for any one of these tools any time.
The Butterfly
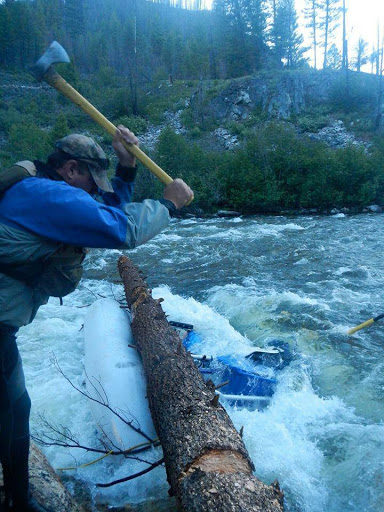
At some point in your infamous river running career, right there in your own personal highlight film, will be a sequence where your boat inexplicably develops a mind of its own and inexorably moves directly toward a ripper rock that could pierce the armor on a Sherman Tank. Despite your best intentions, this unintended series of events could potentially lead to a large tear in the tube, which means a repair on the river. That is why you need to know about the “butterfly.”
In patching a large tear on a raft, they key is bringing the cut edges back together, then installing an air-tight patch. Instead of using a full-length patch for the inside of the tear, cut several strips of fabric 3 inches wide by ¾ inch long. (Maravia 3-inch bias tape works wonders.) Glue each strip every 6 inches, center to center, on the inside of the tear, pulling the cut edges together. Be sure to prep the inside of the tube, as well as each butterfly patch. Apply the adhesive as detailed in the repair kit instructions.
After the butterflies have been installed on the inside, place a large outside patch covering the tear. Take you time prepping and positioning the outside patch; this is your air-tight seal. Be sure to let the fresh adhesive cure for about an hour prior to low pressure inflation. After 24 hours, you can pump the tube to normal operating pressure.
SUGGESTED Repair Kit Contents
- Repair fabric
- 3” bias tape
- Adhesive
- Solvent/cleaner
- Plastic mixing cup
- Pusher (A tool to smooth out the patch after applying)
- Hand roller
- Tongue depressors for mixing
- 1” brushes
- Sandpaper
- Cheesecloth to wipe prepped surfaces with cleaning solvent
- Scissors
- Knife
- Rubber gloves
- Channel locks or pliers
- Screwdrivers – regular head and Phillips
- Crescent wrench
- Replacement valves
- Valve wrench
- Extra oarlock with keeper pins
- Extra thole pin and clip set
- Duct tape
- Repair instructions from the manufacturer
- Pen and pencil